
Continuous zipper, or zippers by the yard, they're so useful! You can use the exact length needed for your project so nothing goes to waste. And I mean, you could also use 2 sliders if you want!
So you purchase the zipper tape, and one or multiple sliders. And here's how to attach the slider into the zipper tape:
1.
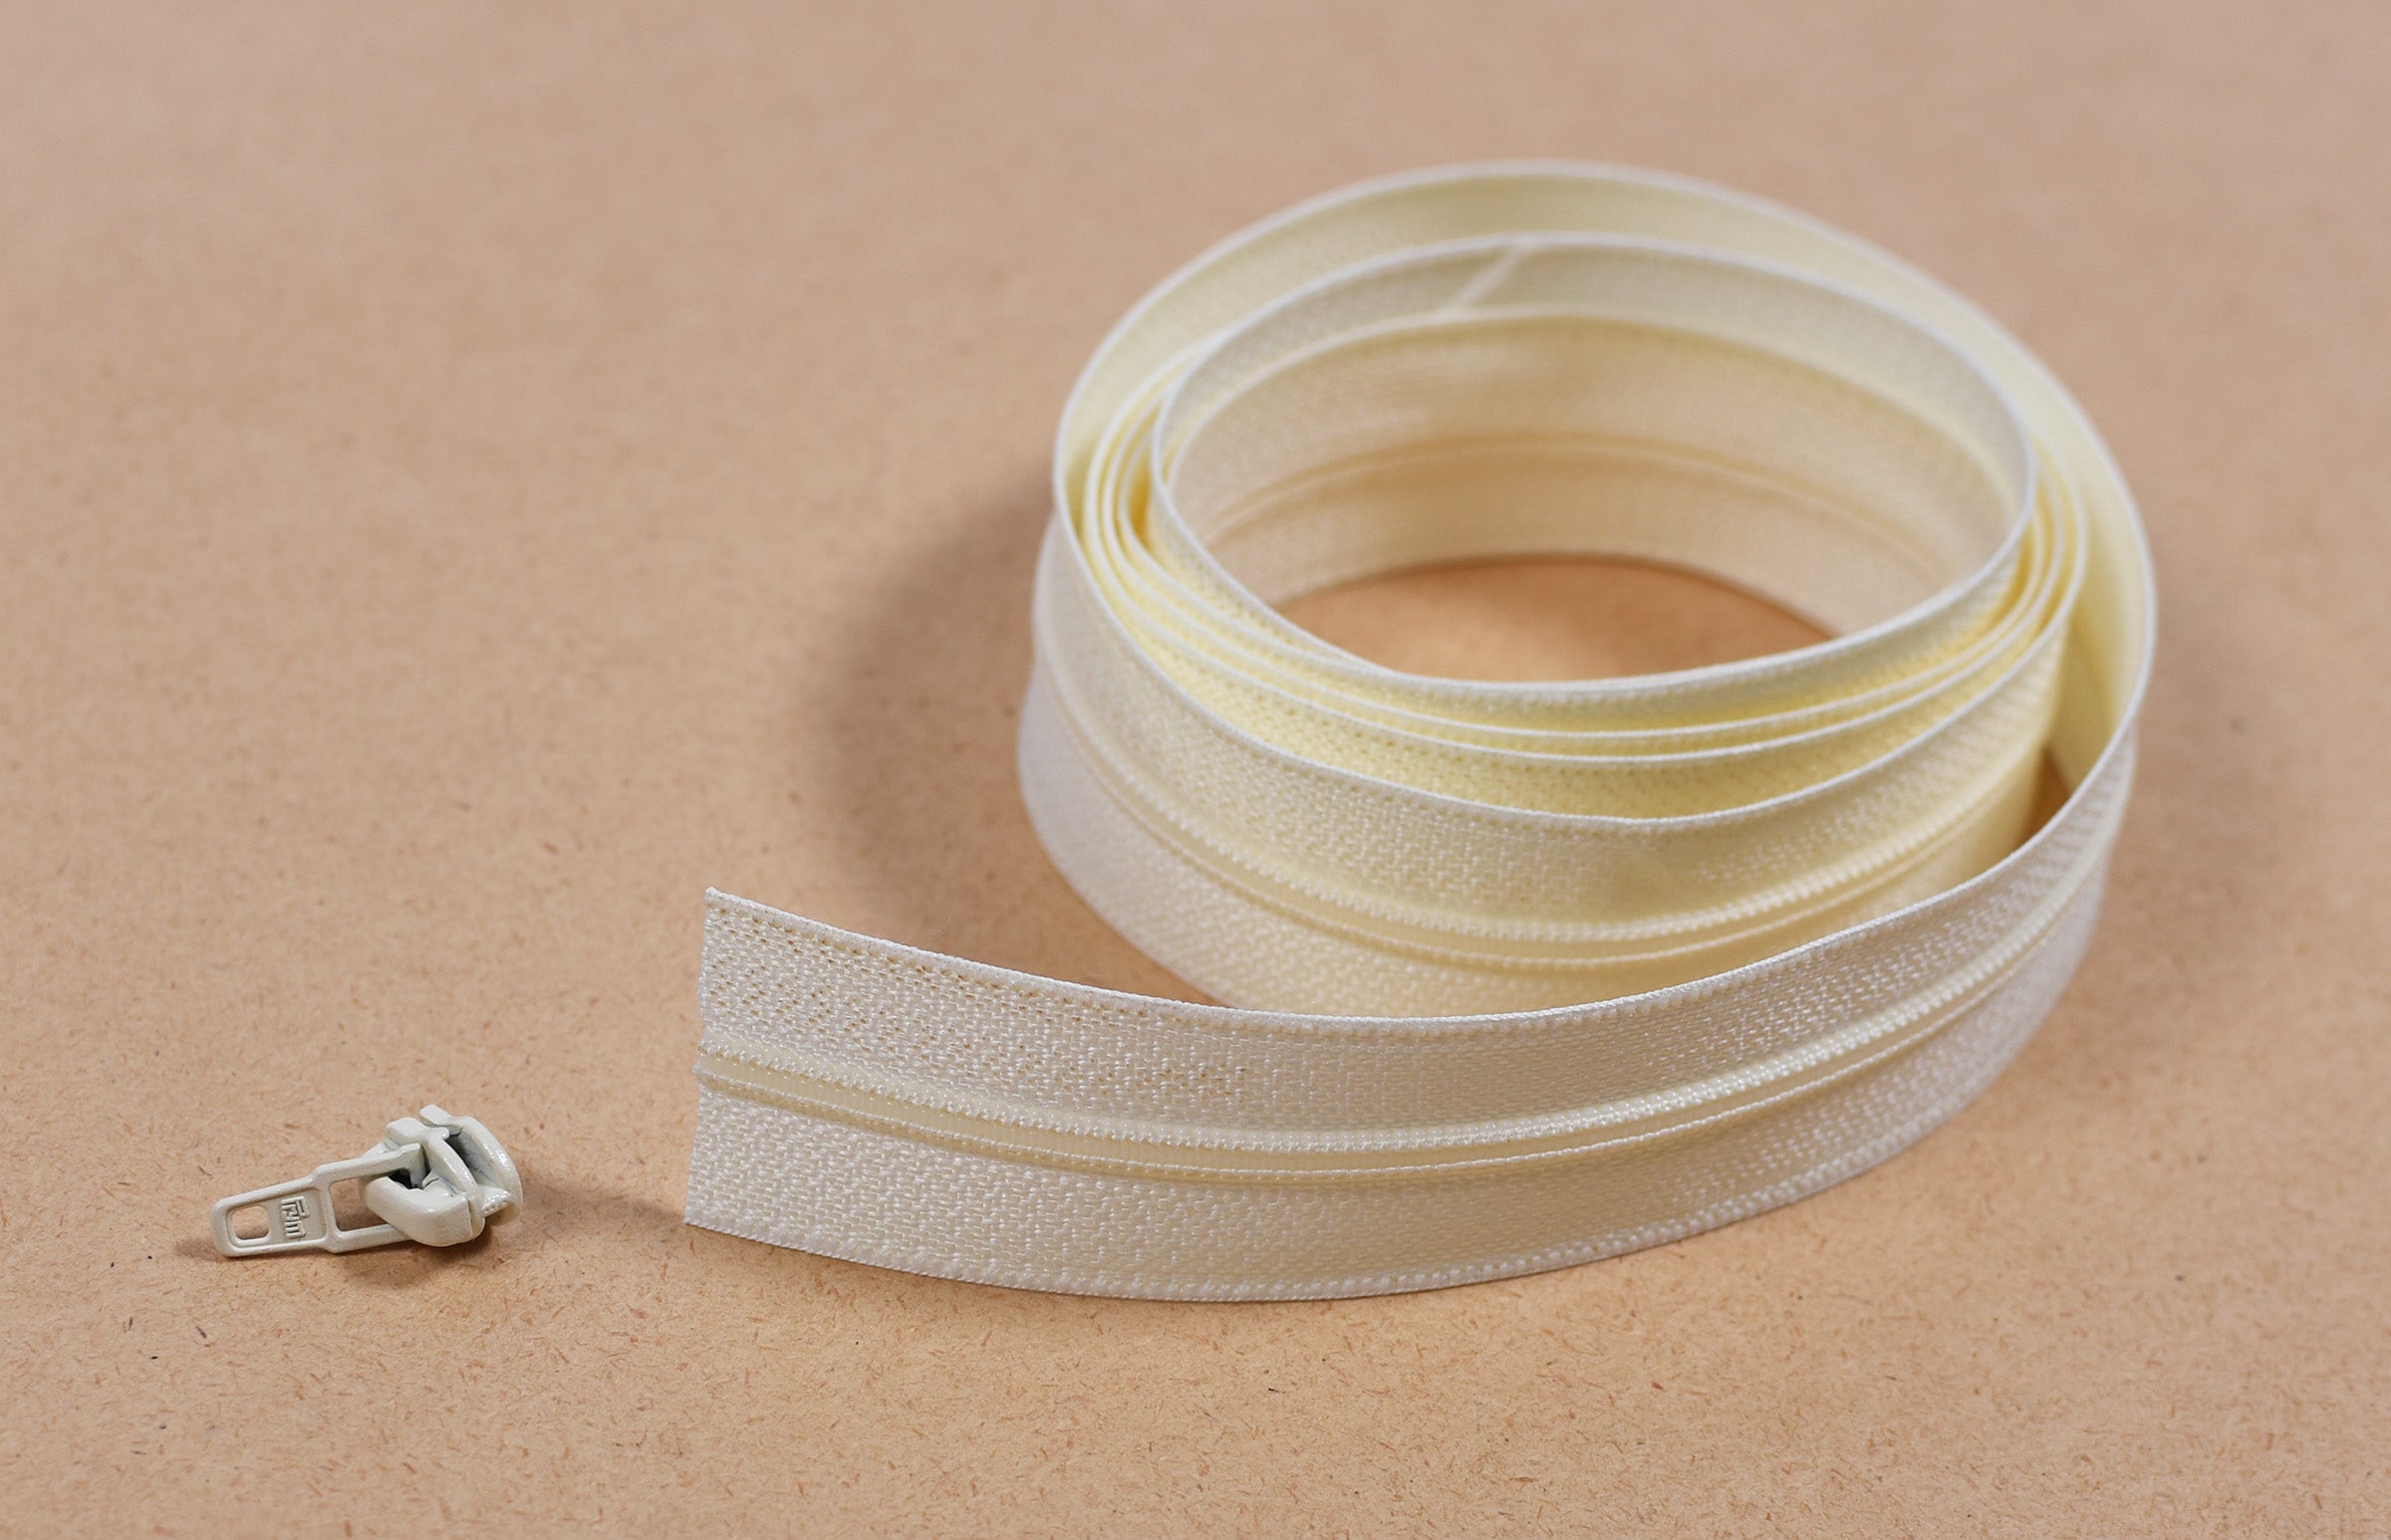
Grab your supplies. You will need a continuous zipper and a slider. If you buy them separately make sure the slider and zipper tape correspond size-wise.
We'll insert the slider in the bottom of the zipper tape. Make sure it's cut straight.

2.
Pull apart / open the bottom part of the zipper tape about 5-10 cm.

3.
On one end of the zipper tape, cut off about 1,5 cm of the teeth.

4.
Thread one end of the zipper (the side where you didn't cut off the teeth) into the slider, with the slider's rounded part first. Make sure the tape's right side is up.
Pull down the slider just a little bit.

5.
Then thread the other end of the zipper into the slider. Make sure the two ends of the tape are even.

6.
Pull up the slider a bit. Again, check that the ends of the zipper tape are even.
Pull it up all the way (without coming off the other end), and then back down again to see that the zipper works.

7.
My zipper is now prepared, so I cut it off to my desired length. You can of course do this before attaching the slider but I prefer to do it after.

Here's the finished result of my Astrid pouch, sewn with a continuous zipper.
Grab the pattern here and make a pouch yourself!